


Convert JPG to HUS Embroidery Files for Logos and Apparel
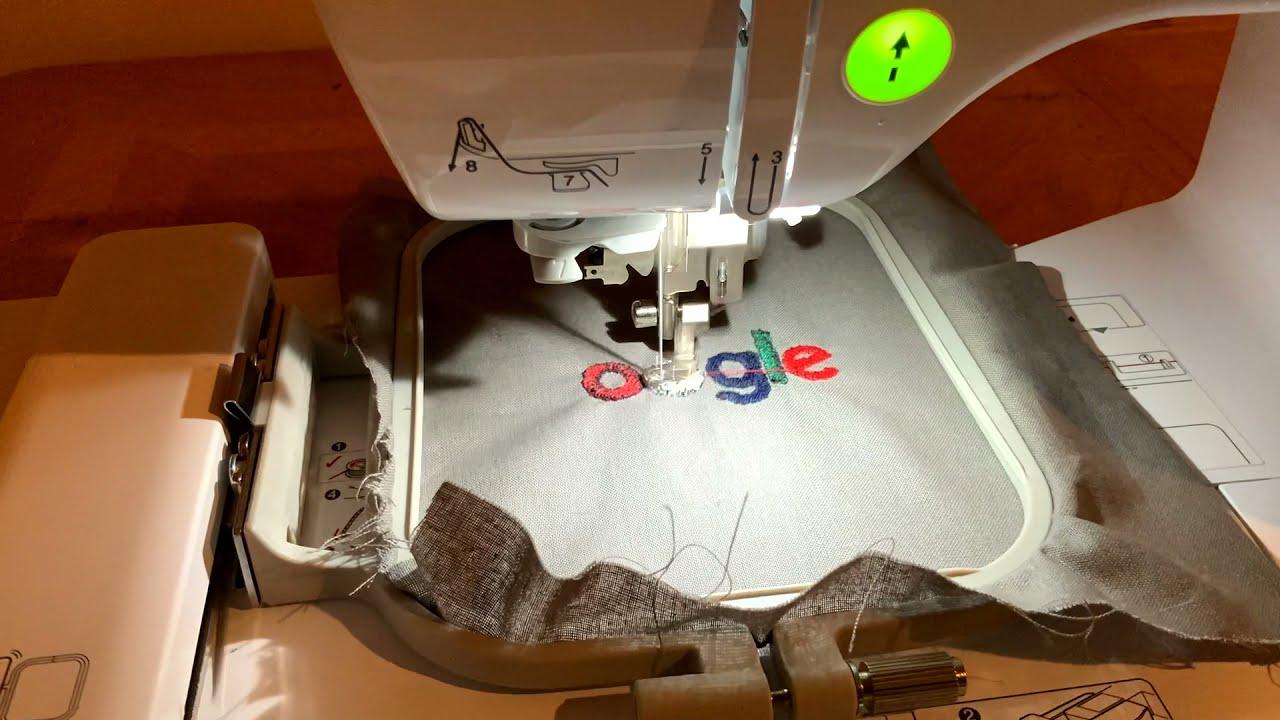
Introduction: From Pixels to Stitches, Let’s Make It Real
You have a crisp logo on your screen. A beautiful JPG. Vibrant colors, smooth curves, sharp text. You load it onto your embroidery machine, hit start, and… the machine stares back at you like you just spoke a foreign language. Of course it does. Embroidery machines do not read pixels. They read stitches.
That is where the magic of conversion comes in. When you Convert JPG to HUS Embroidery Files, you are not simply changing a file extension. You are translating a digital image into a language your machine understands—needle up, needle down, move left, move right, change thread. If you sew logos onto caps, polos, or jackets, mastering this conversion saves you from ugly puckering, thread breaks, and designs that look nothing like the original artwork.
I have been on both sides of this process. I have pulled my hair out over auto-digitized disasters. And I have learned exactly what works when turning a flat JPG into a beautiful HUS file that sews out clean. Let me walk you through it, step by step, the way I wish someone had explained it to me years ago.
What Is a HUS File, and Why Does It Matter for Apparel?
Before we jump into the how, let us talk about the what. HUS is the native embroidery file format for Bernina machines, specifically their older Artista and Deco series. If you own a Bernina, or your client does, HUS is your go-to output format.
Unlike a JPG, which stores color information for each tiny square pixel, a HUS file stores stitch commands. Think of it like sheet music for your machine. It tells the needle exactly where to penetrate the fabric, in what sequence, with which thread color, and at what density.
Why does this matter for logos and apparel? Because apparel moves. Fabric stretches, frays, and compresses under tension. A good HUS file accounts for that. It uses underlay stitches to stabilize the material. It adjusts pull compensation so your letters do not narrow. It sequences colors intelligently so you are not changing thread every thirty seconds.
When you convert a JPG properly, you end up with a HUS file that respects the fabric. When you do it poorly, you get a mess. And that mess ends up on a customer’s shirt.
Why You Cannot Just Rename a JPG to HUS (Seriously, Don’t)
I have seen beginners try this. They take a file named logo.jpg, rename it to logo.hus, and look confused when the machine rejects it. Let me be clear: renaming does nothing. The data inside the file is still pixel information. Your machine needs stitch coordinates, not RGB values.
Converting a JPG to HUS requires digitizing software. That software analyzes the image, detects edges and color regions, then maps them to stitch types. A solid red area becomes a tatami fill stitch. A thin black outline becomes a satin or run stitch. A gradient? That is trouble—but I will get to that in a minute.
Without proper software, you are stuck. Do not waste time hunting for free online converters that promise magic. Most of them spit out garbage stitch files that break needles or ruin garments. Invest in real digitizing software like Wilcom, Hatch, Bernina ArtLink, or Pulse. Your machine will thank you.
Step-by-Step: How to Convert JPG to HUS the Right Way
Let me give you a workflow that actually works. I use this every time a client sends me a JPG logo.
First, open your digitizing software. Create a new design and import your JPG. Set the design size to the exact finished dimensions you want on the garment. Remember, resizing a stitch file later changes stitch density, so get the size right now.
Second, clean up the image. Most JPGs have compression artifacts, stray pixels, or rough edges. Use the software’s image tracing or manual drawing tools to trace clean vector shapes. Do not auto-digitize a messy JPG and hope for the best. That is a recipe for disaster.
Third, assign stitch types. Flat areas become fills. Borders become satins. Small text under 0.3 inches tall needs a run stitch, not a satin, or it will look like a blob. This step requires judgment. There is no auto-button that gets it perfect every time.
Fourth, set your underlay. For caps, use a light underlay. For thick puffy jackets, use a heavier underlay or double underlay. For stretchy polo shirts, add pull compensation to prevent distortion.
Fifth, sequence your thread colors. Move from light to dark usually, but sometimes you go dark to light depending on overlapping elements. Preview the sew order and adjust.
Finally, export as HUS. Choose the correct version if your software asks—older Bernina machines need different HUS variants. Save the editable native file first (like PXF or EMB), then export a clean HUS for production.
Common Mistakes When Converting JPGs to HUS (And How to Avoid Them)
Mistake one: ignoring the fabric. A HUS file that sews beautifully on a woven tote bag will pucker like crazy on a performance polo. You must adjust density, underlay, and pull compensation for each fabric type. Save different HUS versions for different garments.
Mistake two: using low-resolution JPGs. If your logo is 200x200 pixels and blurry, the digitizing software has to guess the edges. Ask your client for a vector file or a high-res PNG with transparency. If all they have is a tiny JPG, redraw it manually. Garbage in, garbage out.
Mistake three: auto-digitizing everything. I get it. You are busy. One click seems easy. But auto-digitizing treats your logo like a coloring book—it fills every shape with the same stitch type, ignores underlay, and creates excessive trims. Learn manual digitizing. It takes time upfront but saves hours of editing later.
Mistake four: forgetting a test sew. Never send a HUS file to a client or run production without sewing a test first. Different machines, threads, and needles behave differently. Sew on a scrap of the actual garment fabric. Adjust until it looks professional.
Best Tools for Converting JPG to HUS Without Losing Your Mind
You need software that gives you control. Here is what I recommend based on actual use.
Bernina ArtLink is free and decent for simple logos if you already own a Bernina. It handles basic auto-digitizing but lacks fine-tuning options.
Hatch Embroidery is my personal favorite for apparel work. It has excellent manual digitizing tools, fabric presets, and a clean interface. You can buy just the level you need, from basic to full commercial.
Wilcom EmbroideryStudio is the industry standard for professionals. Expensive but powerful. If you run a production shop, this pays for itself in time saved.
Inkscape with Ink/Stitch is an open-source option. It is free but has a steep learning curve. Great for hobbyists or those on a tight budget. Just be prepared to troubleshoot.
Avoid no-name online converters that promise instant HUS files. They do not understand pull compensation, underlay, or fabric behavior. You will waste thread, time, and temper.
Tips for Logos and Apparel That Actually Sew Out Clean
Here is where the pros separate from the beginners. For logos, simplify before you digitize. That JPG might have drop shadows, glows, and gradients. Embroidery cannot do gradients. Convert those areas to solid colors or use a thread blending technique like tatami with variable density.
For small text, keep it at least 0.25 inches tall for sans-serif fonts, 0.3 inches for serif. Anything smaller turns into a fuzzy mess. If the client insists on tiny text, suggest a patch or woven label instead.
For apparel, always add a border underlay for satin columns. It prevents the fabric from pulling inward. And never use more than 80% density on caps, or you will break needles left and right.
Conclusion: Master the Conversion, Master the Craft
Learning to Convert JPG to HUS Embroidery Files is not just a technical skill. It is the difference between delivering a logo that makes your client smile and one that makes them ask for a refund. Pixels lie to you. They look smooth and perfect on a screen. But fabric tells the truth. It reveals every shortcut you took, every setting you ignored.
So take the time to do it right. Get proper software. Learn manual digitizing. Test on real fabric. Save your native editable files. Then export that HUS with confidence. Your Bernina will run clean. Your apparel will look sharp. And your customers will come back again and again.

 English
 Arabic
 French
 Spanish
 Portuguese
 Deutsch
 Turkish
 Dutch
Dutch
 Italiano
 Russian
 Portuguese (Brazil)
 Greek
Greek